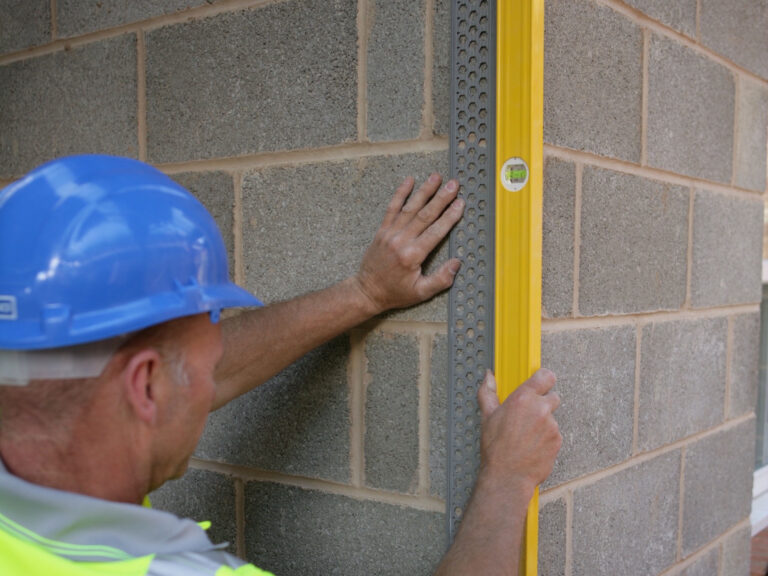
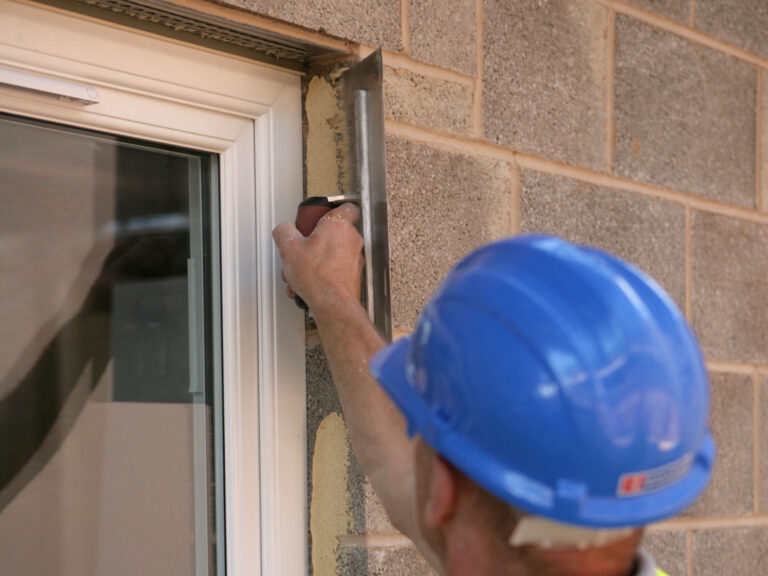
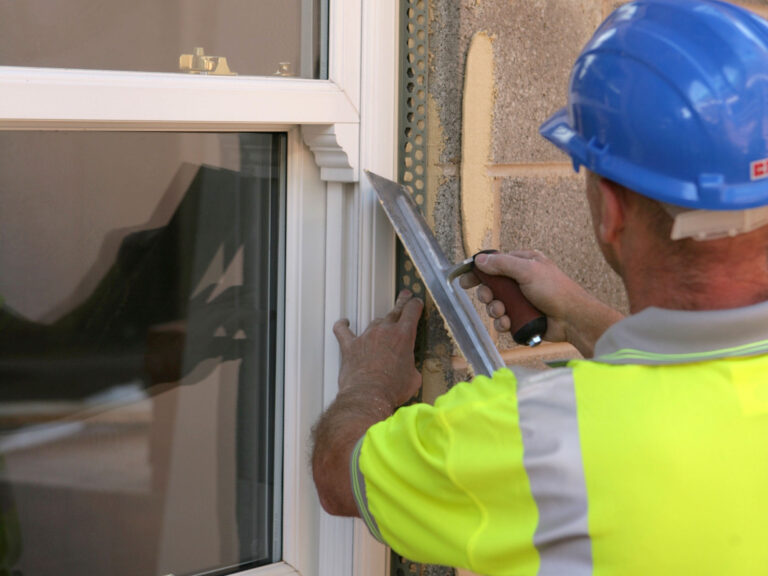
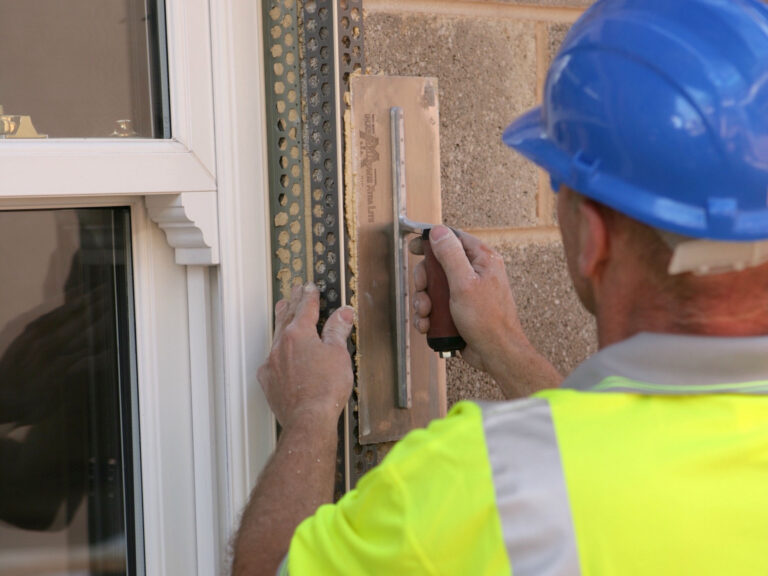
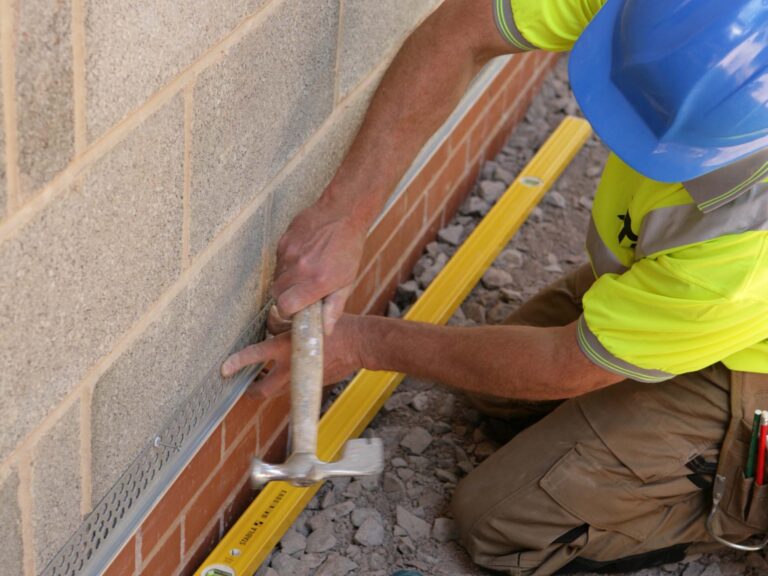
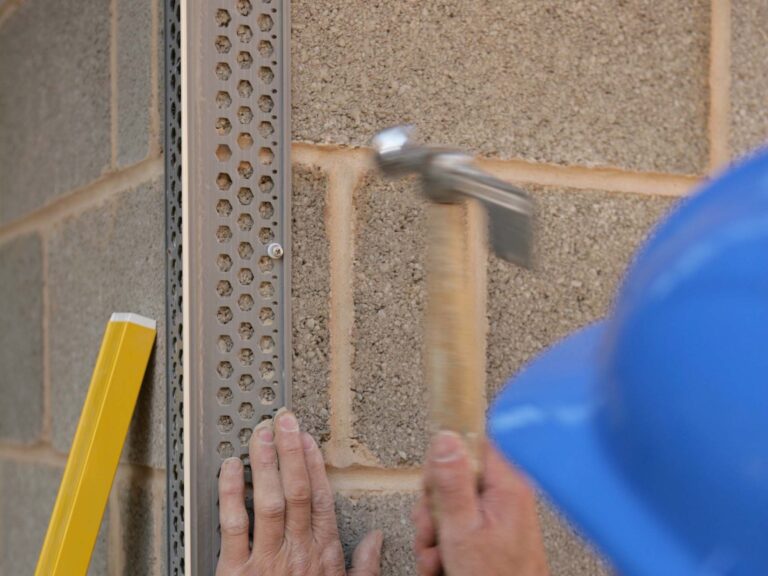
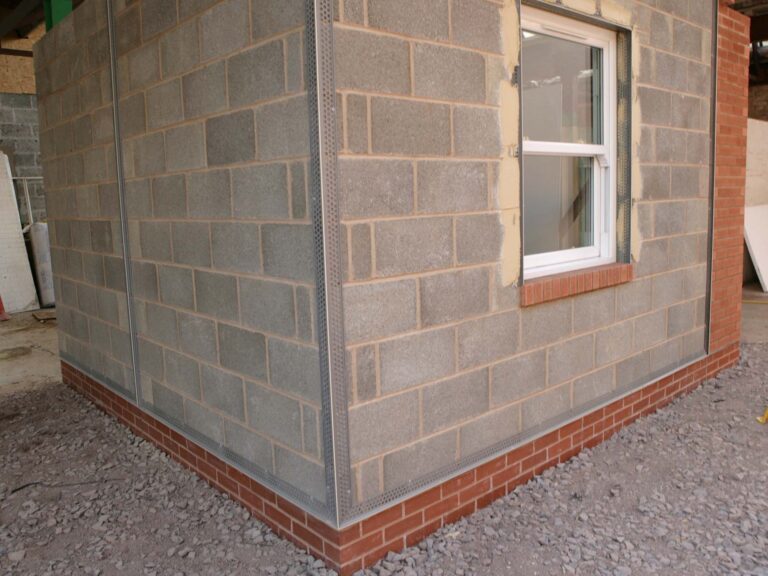
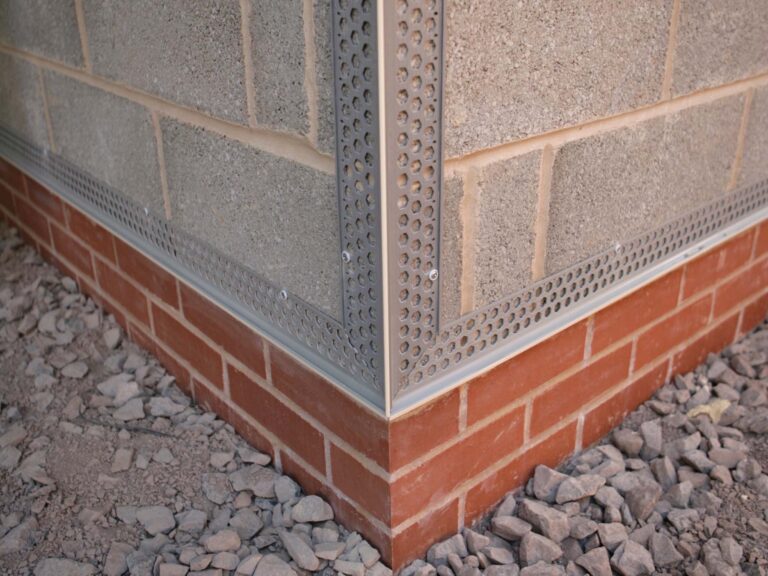
pvcu beading installation

Renderplas PVCu beads are all made locally from exterior grade UV resistant PVCu so they can be installed both inside and out. They are fast and easy to install and perfect for all renders including sand and cement. Standard industry practice can be used on blockwork, timber frame and external wall insulation systems to cut and fix the beads which are safer to handle than cut metal.

Blockwork

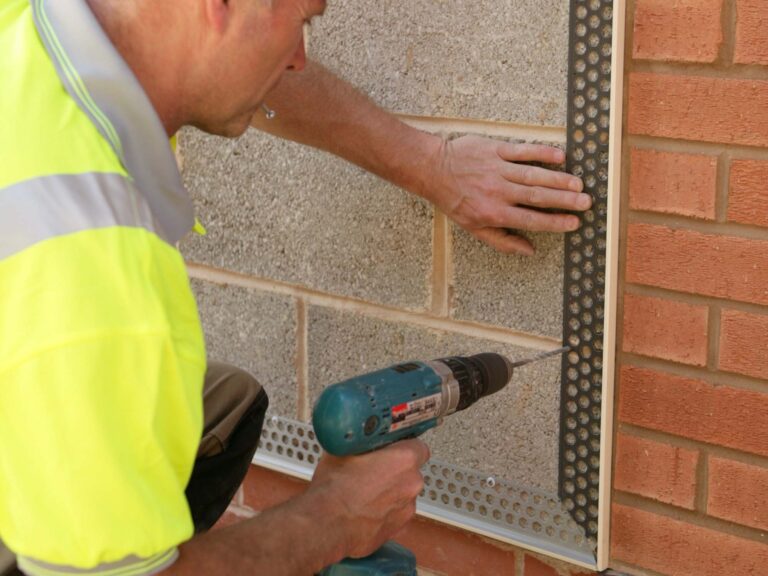
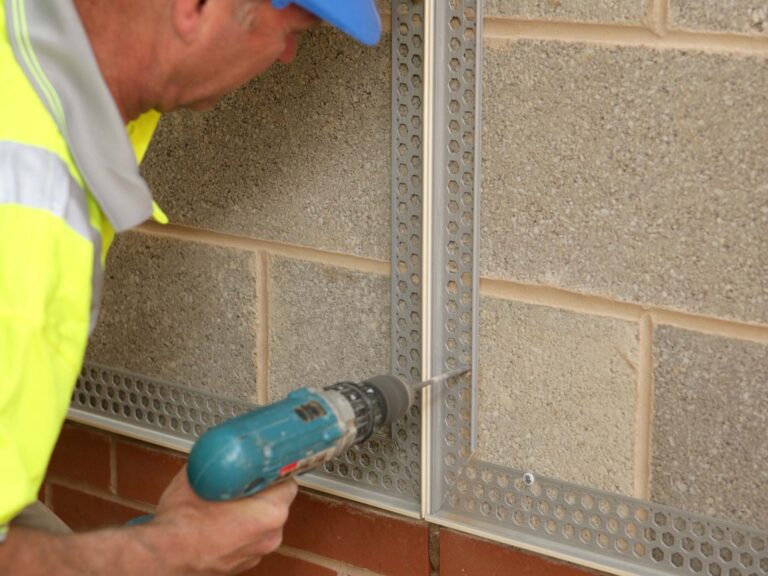
On blockwork, beads are set onto render dabs to the required depth and plumbed straight. Adhesive mortar can also be used for faster drying and to prevent slipping. Larger profiles, particularly wide wing beads, can be fixed with non-corrosive mechanical fixings alone as the flexible wings take up irregularities in the background, with the strong arris remaining straight. Nail clouts or hammer-in plug fixings are suitable for this.

Timber frame and external wall insulation systems

On timber frame and external wall insulation systems, there is no need to set the beads onto render or adhesive mortar if the surface is level. Suitable fixings should be chosen depending on the background.

Construction worker using spirit on vertical corner of block work to check level of PVCu render bead

1. Assess substrate and fix irregularities

Assess the substrate for large irregularities. These should be dubbed out with mortar which is then allowed to set hard prior to application of beading.

Construction worker bent down holding PVCu render beading and using tin snips to cut to length

2. Cut PVCu beads to length

Cut beads to the required length. Tin snips are normally used, or a fine toothed saw for precision mitres or cutting larger movement joints.

Construction worker with blue hard hat applying render dabs to window reveal on block work

3. Apply adhesive or mortar dabs

Trowel on render dabs onto the background surface. Adhesive mortar can be used instead to increase the level of grip and reduce slipping.

Construction worker applying render dabs to set stop PVCu beading to window reveals

4. Position PVCu stop beads

Set stop beads into the render dabs and push into reveals against window and door frames. Push corner beads onto external corners and tap to level.

Construction worker applying render dabs the wings of PVCu render beading to attach it directly to breeze blocks at window reveal on building exterior

5. Apply render over PVCu bead wings

Once the beads are aligned, apply render over the wings and allow to set hard.

Construction worker with blue hard hat, fixing PVCu bellcast beads in line across window reveal with render dabs

6. Position PVCu bellcast beads

Fix bellcast beads onto a continuous line of render dabs, or better still, onto adhesive mortar to prevent slipping.

Construction worker in high vis top and blue hard hat, hammering in plug fixings to wall along length of PVCu beading

7. Alternative fixing method if required

Alternatively nail clouts or hammer-in plug fixings can be used along the length of the bellcast bead every 300-700mm.

Close up of hammer-in fixings being applied to breeze block work on building exterior

8. Take caution with fixings

The beads are rigid enough for one person to fix alone. When using hammer-in fixings, the strong arris helps prevent the bead from deflecting.

Mix of red brick and breeze block finish, with construction worker drilling into breeze block to fix render stop bead to wall

9. Change of finish fixing method

At a change of finish, stop beads can be fixed either mechanically or onto render or mortar dabs.

Construction worker drilling directly into breeze block to fix PVCu render beading to building exterior

10. Leaving a gap between bellcast beads at movement joints

Leave a gap of 8-14mm between bellcast beads at a movement joint and fix the bead over the top on render dabs, adhesive mortar or with mechanical fixings and plumb straight.

External view of small square breeze block structure with red brick to base and window on right hand side

11. Wait for adhesive or mortar dabs to set

Once the render dabs or mortar have set hard, the system is ready for rendering.

Close up corner structure of brick and block work, PVCu render beading on angles

12. Potential time saving method for when PVCu beads meet

Where beads meet, compound mitres give the best even finish especially in highly visible areas but wings can be overlapped instead to save time.

Construction worker with high vis top and blue hard hat applying render finish to external wall

13. Apply the sand, cement or through-colour render

Sand and cement render is applied to the required depth. Through-colour render is applied 2-3mm thicker than the required finish.

Construction worker with high vis, hard hat and gloves applying render on top of PVCu render beading at window reveal

14. Minimise air pockets

Care should be taken to push the render into the edges of the beading to eliminate air pockets.

Man scraping back through-colour render over PVCu render beading, brickwork and breeze block build up

15. Scraping through-colour render

When scraping back through-colour render, take care not to make contact with the flexible membrane on the movement joint as this will cause it to fail.

Construction worker using tool to smooth our render finish on building exterior

16. Ensure render is level with edges of PVCu beads

The render should be left level with the edges of the beads which are exposed to give a neat finish.

Construction worker with hard hat on on removing protective strip to front of expansion joint bead before render sets

17. When to remove the PVCu movement joint protective strip

Movement joints come with a protective strip over the flexible membrane. This is removed as the render is going off but before it sets hard.

Red brick meets rendered wall with PVCu stop bead to separate materials, window along length of rendered wall

18. The final wipe down

All beads can be wiped down where necessary. The end result is a superior finish, even without painting.